
-
Home

- Engine Out Refurbishment Project
Next thing to do is to remove the engine cover and wheel arch liners. These just give easier access to everything. Remove the rear road wheels first. They are most definitely in the way. In my case I wouldn't be fitting these back onto the car for another six months so I stashed them away until I needed them.
As with everything in this project, every time I removed a group of fixings I bagged and labelled them so that I knew what they were for when it came to reassembly.
Engine Cover Removal
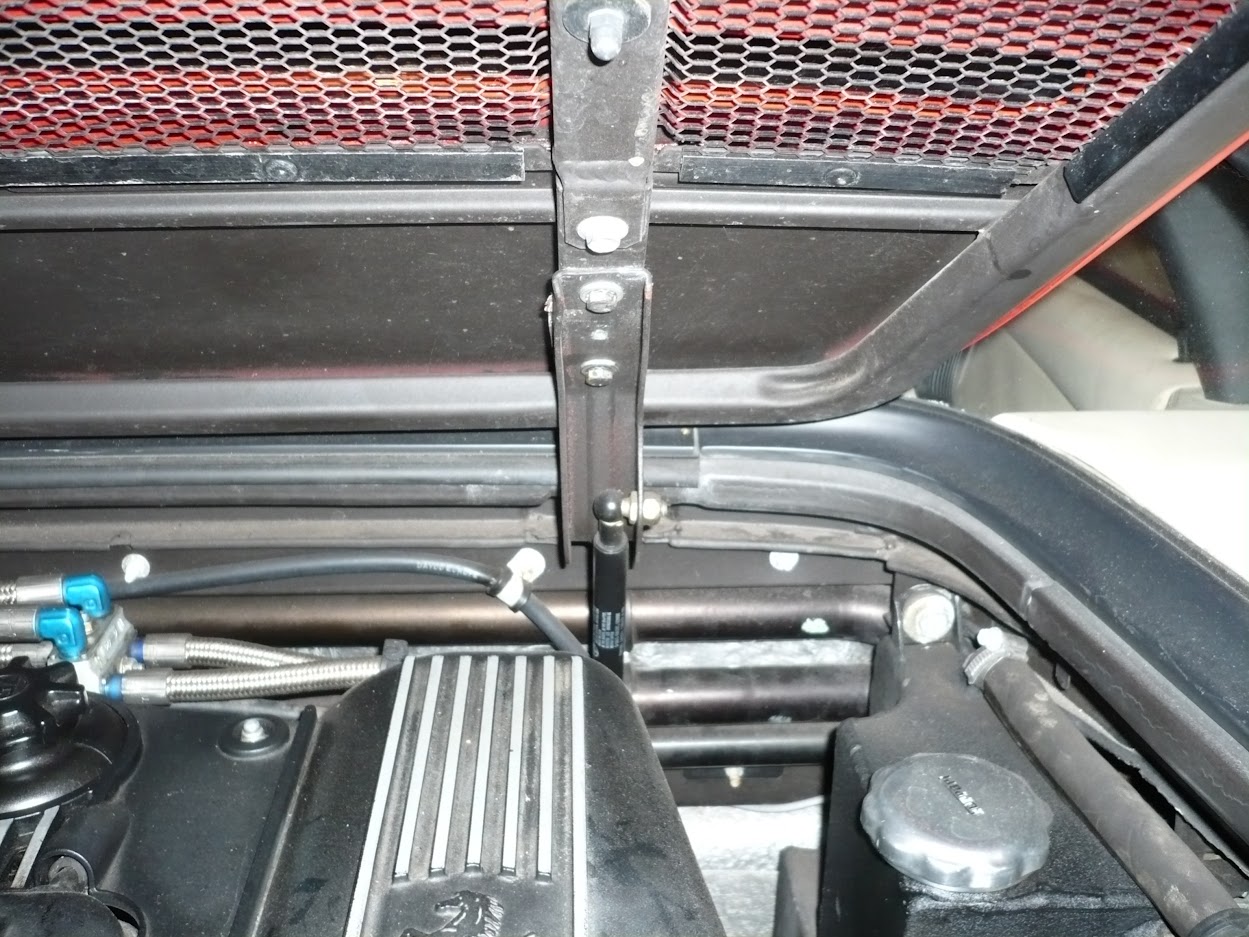
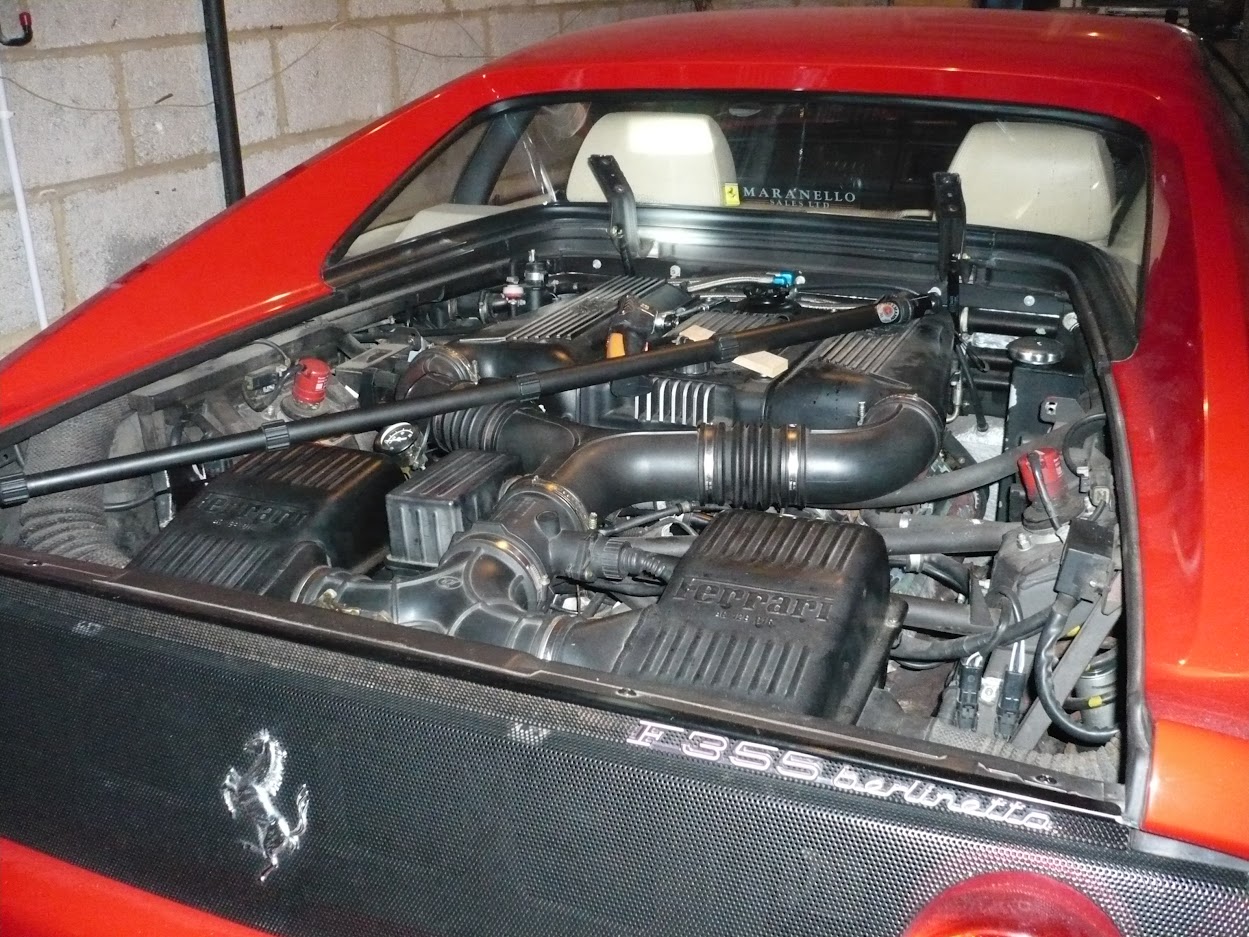
This is held on by a four bolts to the main hinges, plus the fixing to the gas struts which is just a single nut for each strut. Unbolting is easy, and the engine cover is not heavy and can be managed by one person. In one of the images below you can see something laying diagonally across the top of the engine. This is actually a camera monopod but I used it because it can be extended to a random length and then locked off. Here I used it to prop the engine cover up while I undid all of the fastenings. This enabled me to remove everything and then lift it off without it falling off.
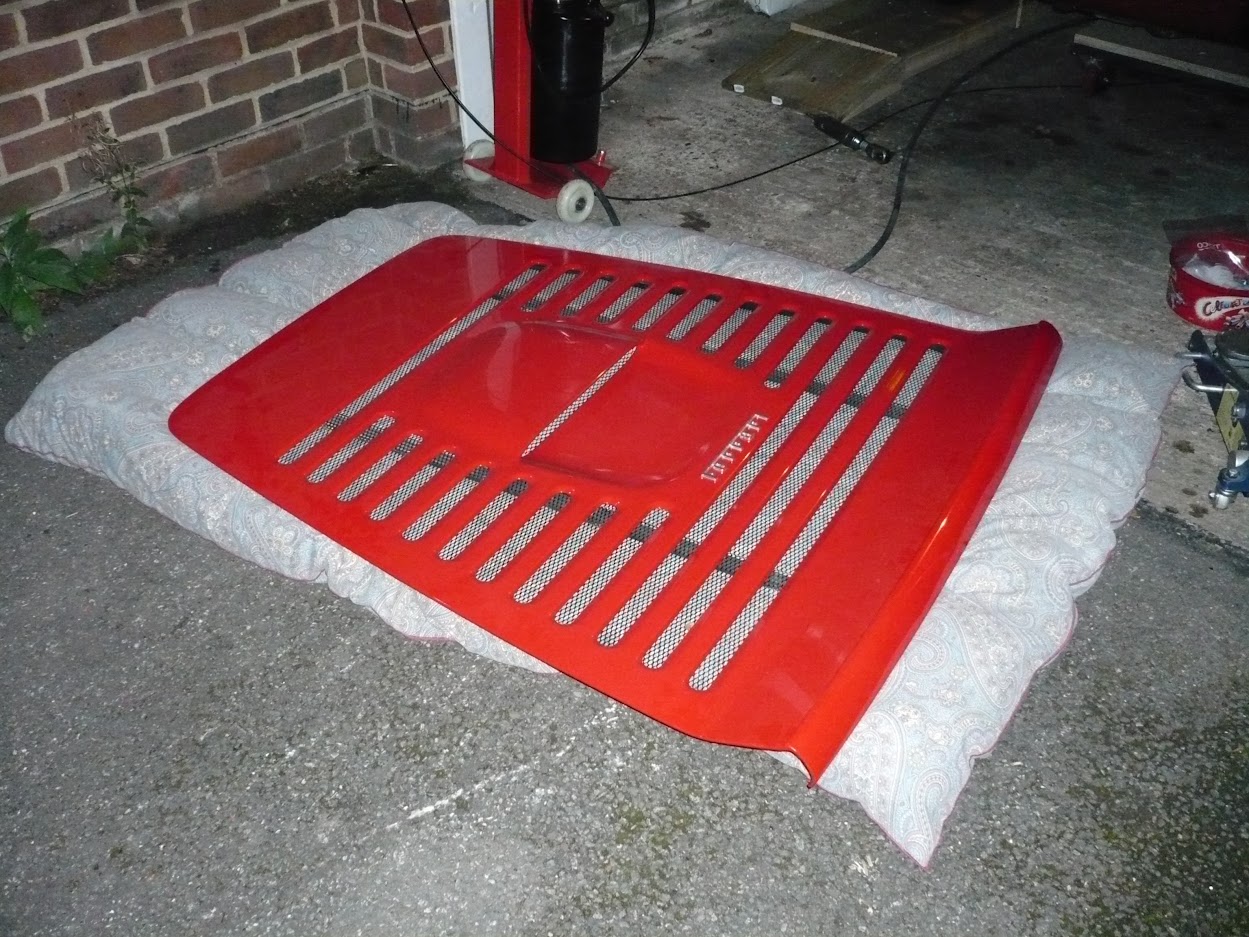
Have something soft ready to put the engine cover on after you remove it so that you don't scratch it.
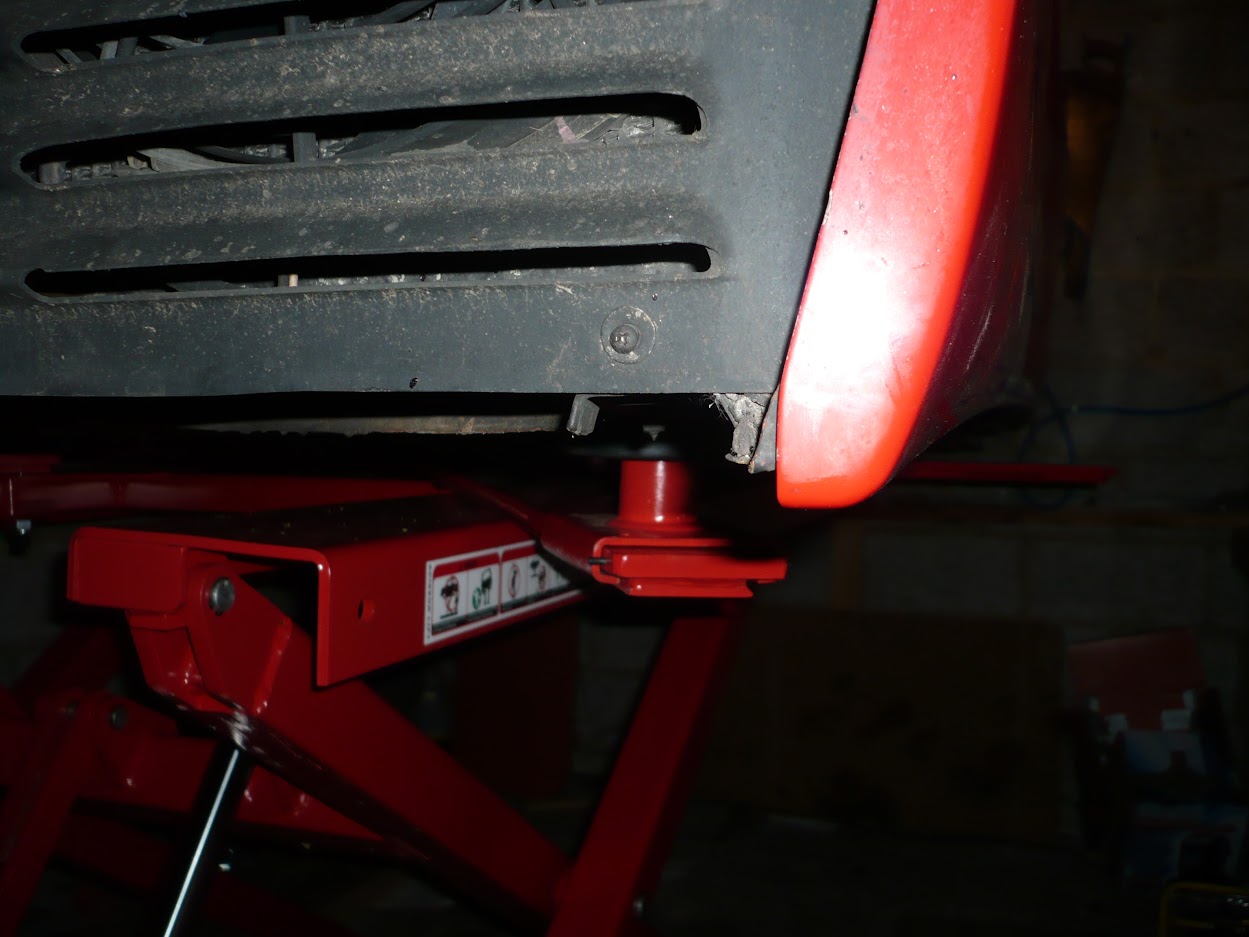
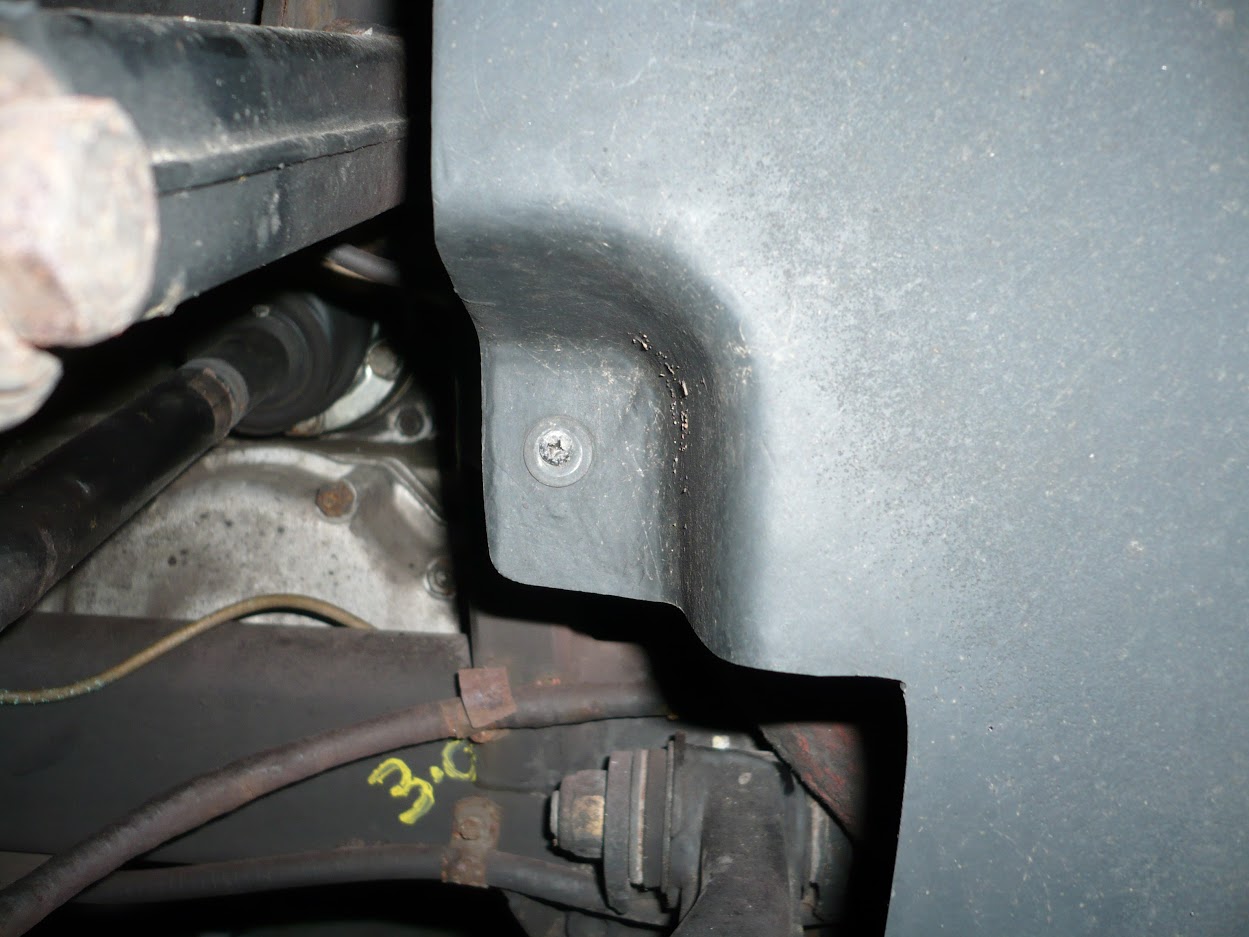
Wheel Arch Liner Removal
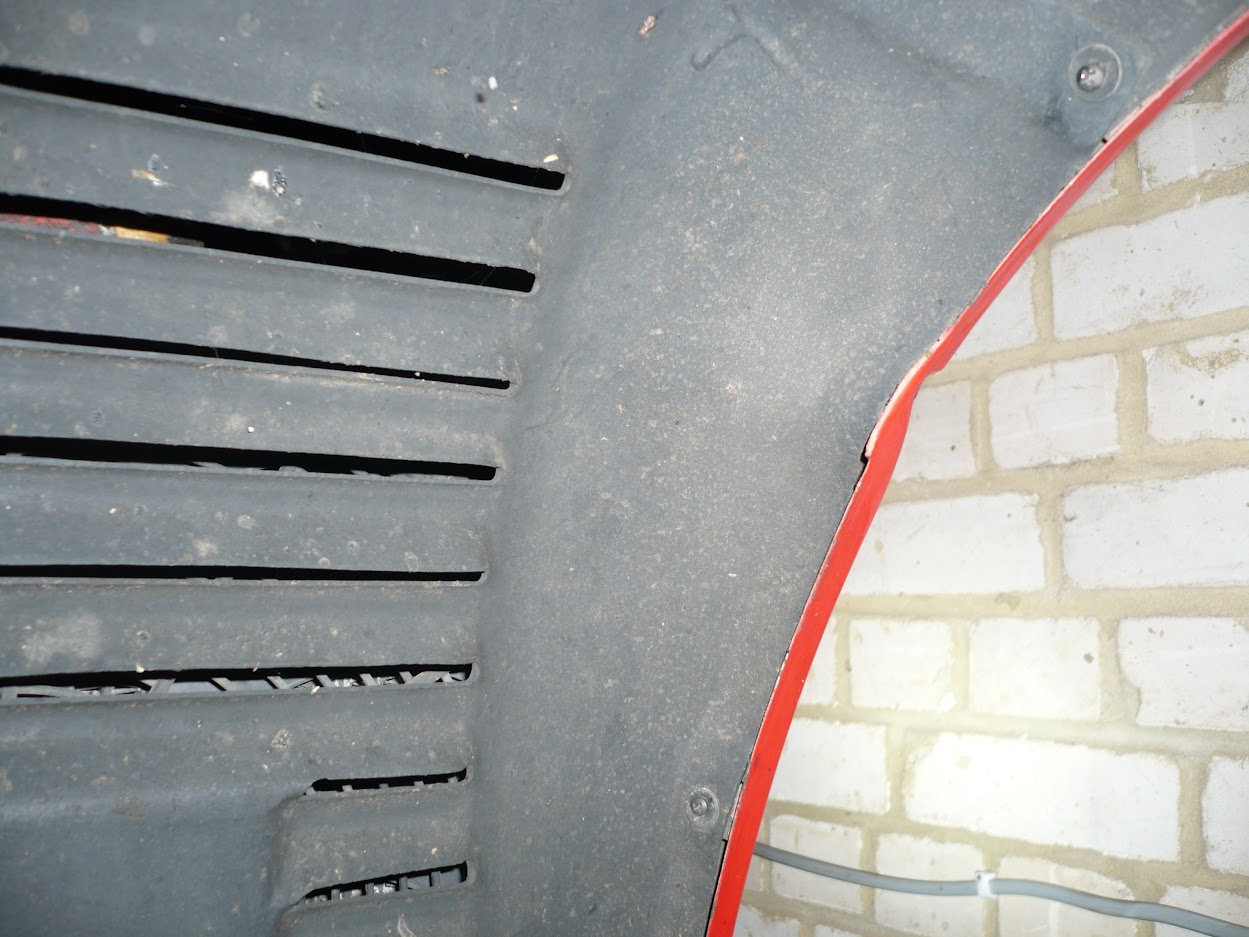
With the car up in the air for access I removed all of the screws holding each wheel arch liner in place. The liners come off in three separate parts and are overlapped, so you need to take note of their relative positions. It's also worth noting that not all of the screws holding the liners in place are the same size, so take note of which one goes where.
Above is the right hand side fixings of the rearmost lower panel. Note the fixing hiding at the bottom right of the picture.

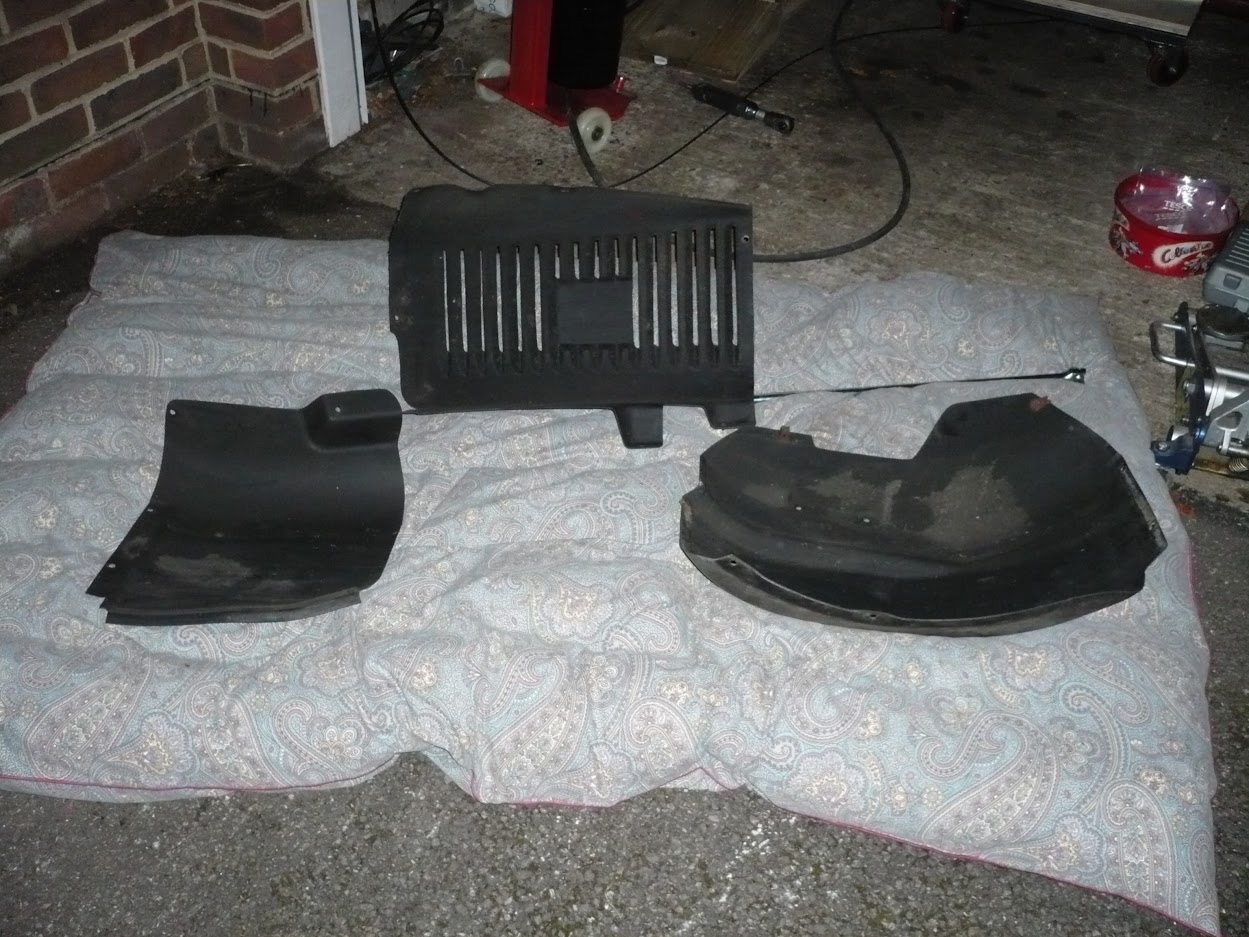
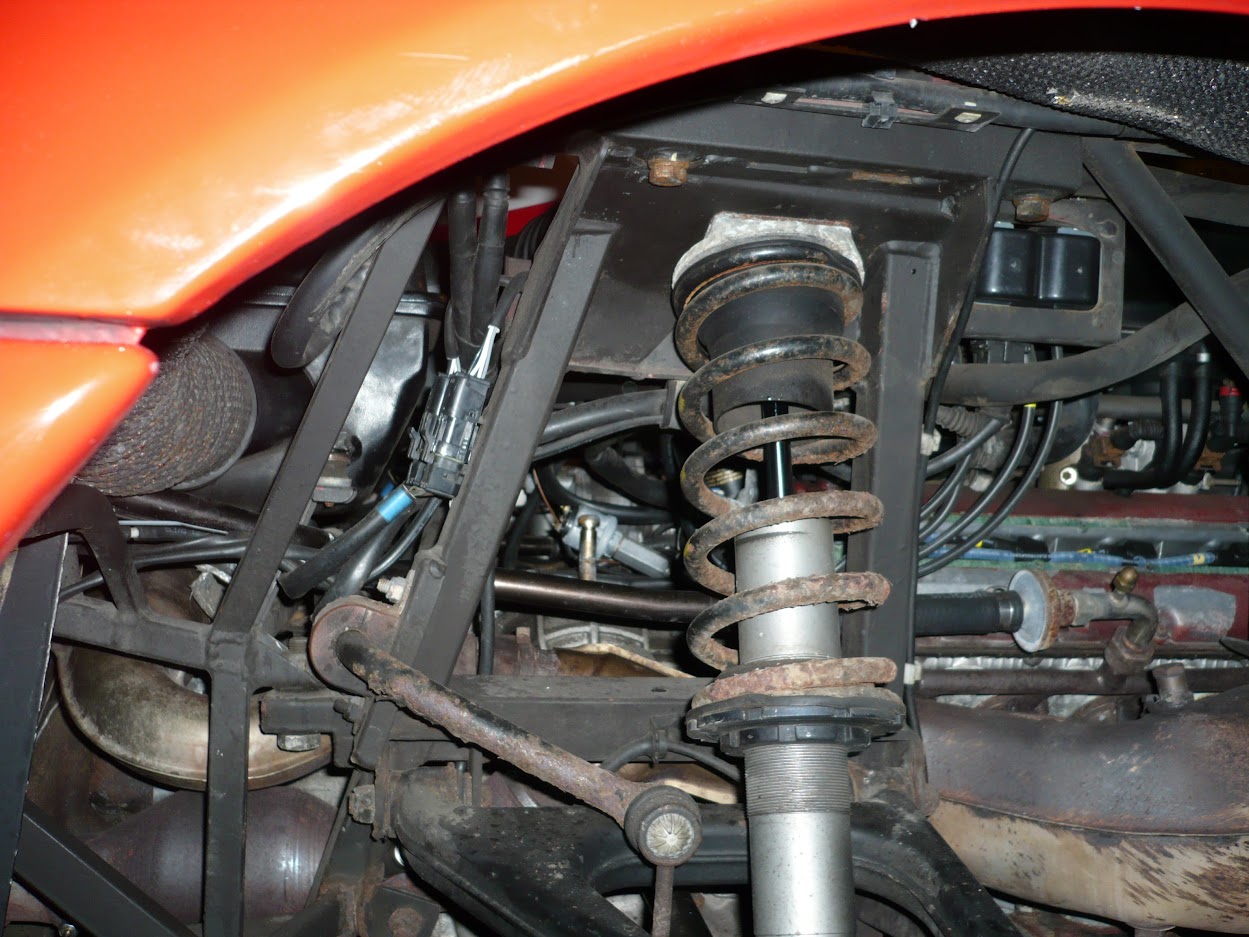
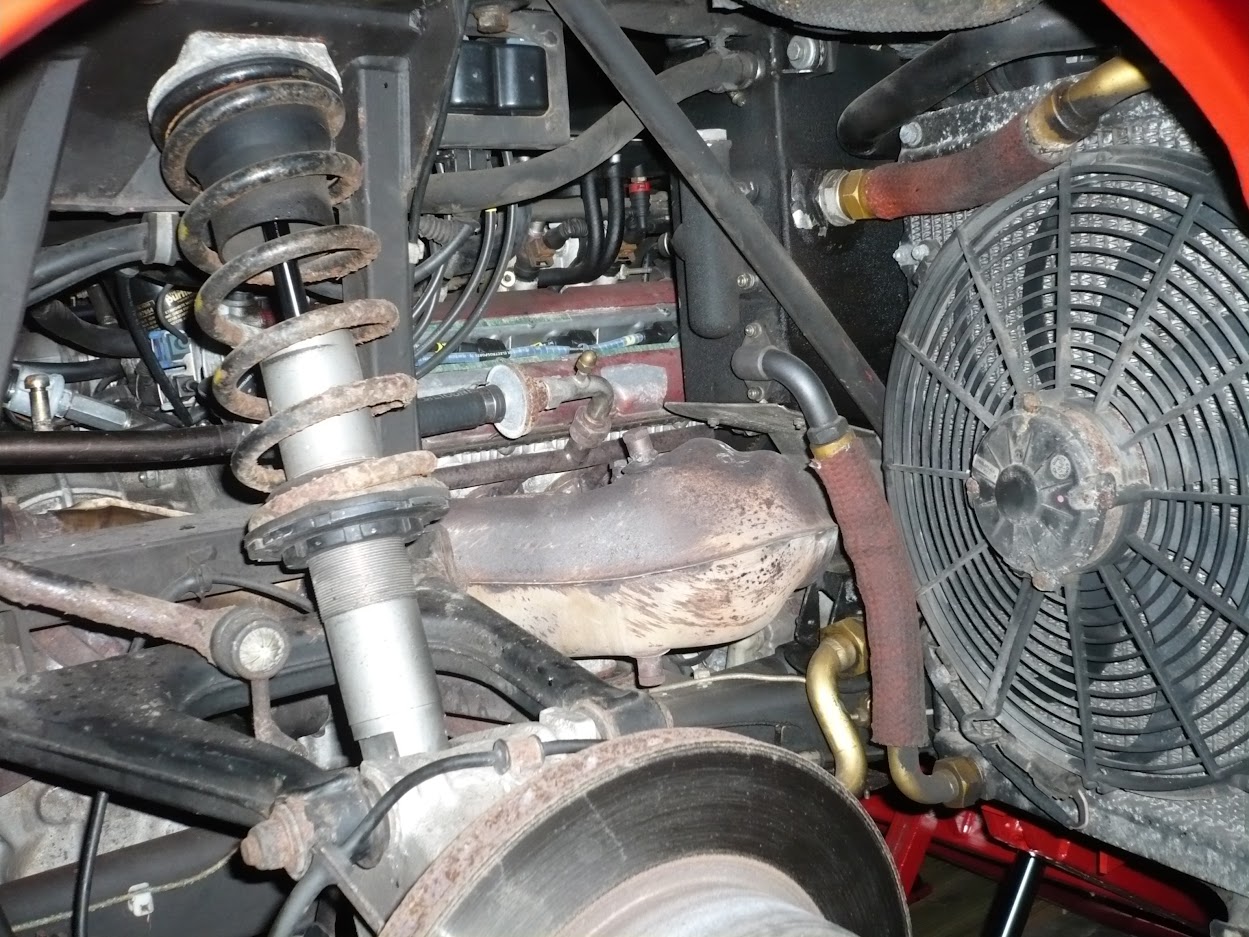
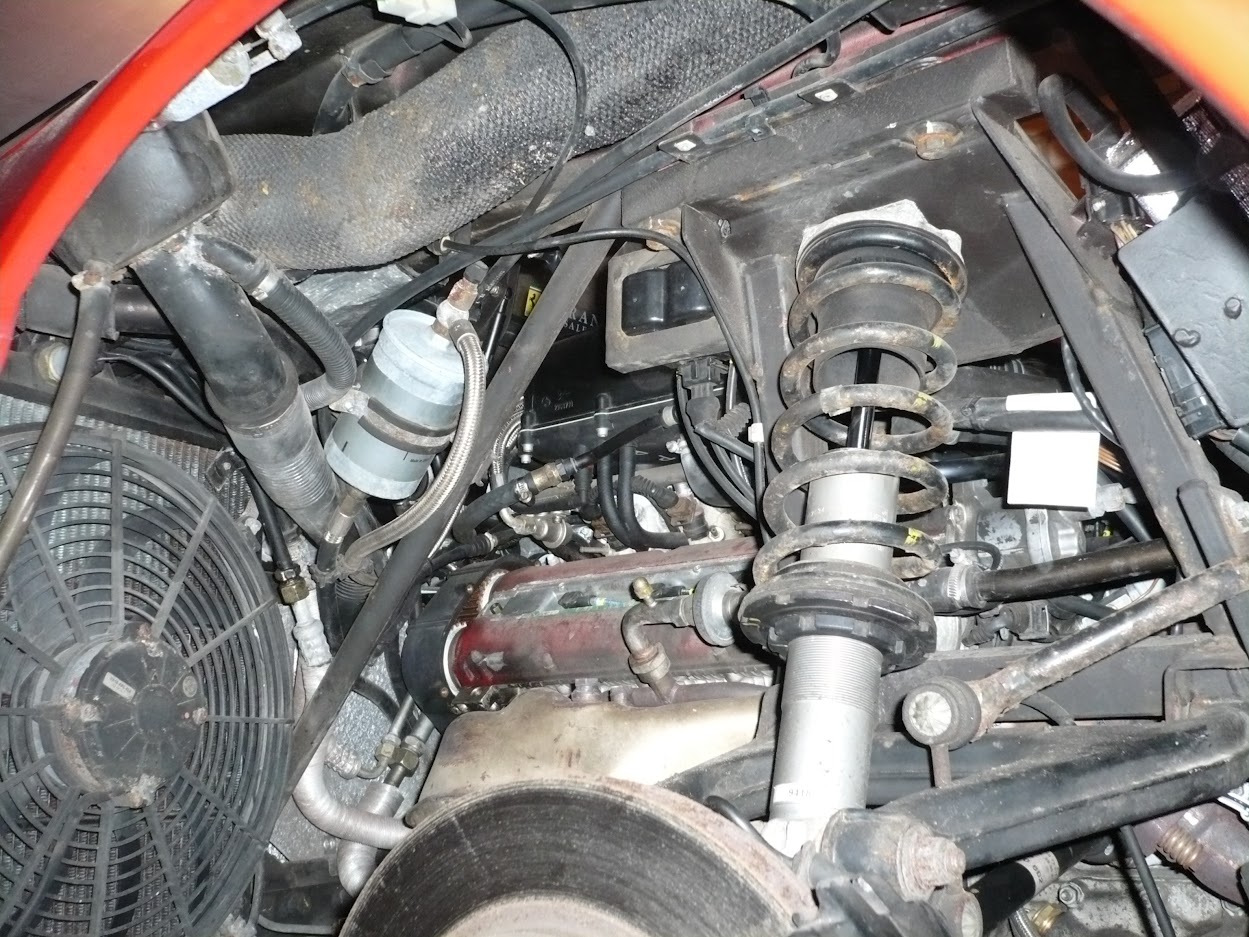
With the wheel arch liners removed, it becomes more obvious the condition we're dealing with. This is a 20 year old car so it's not going to look perfect. It was things like the damper springs that were making me thing it needed some attention.

Page 5 of 90