The dampers needed to be strippted down for cleaning and refurbishment of some of the parts. The rear dampers were replaced a few years ago with some refurbished ones so there was no need to have them revalved or anything, so it was just a case of stripping them down externally so that the spring could be powder coated and all of the other bits cleaned up. The cleanup itself and rebuild is in a separate article.
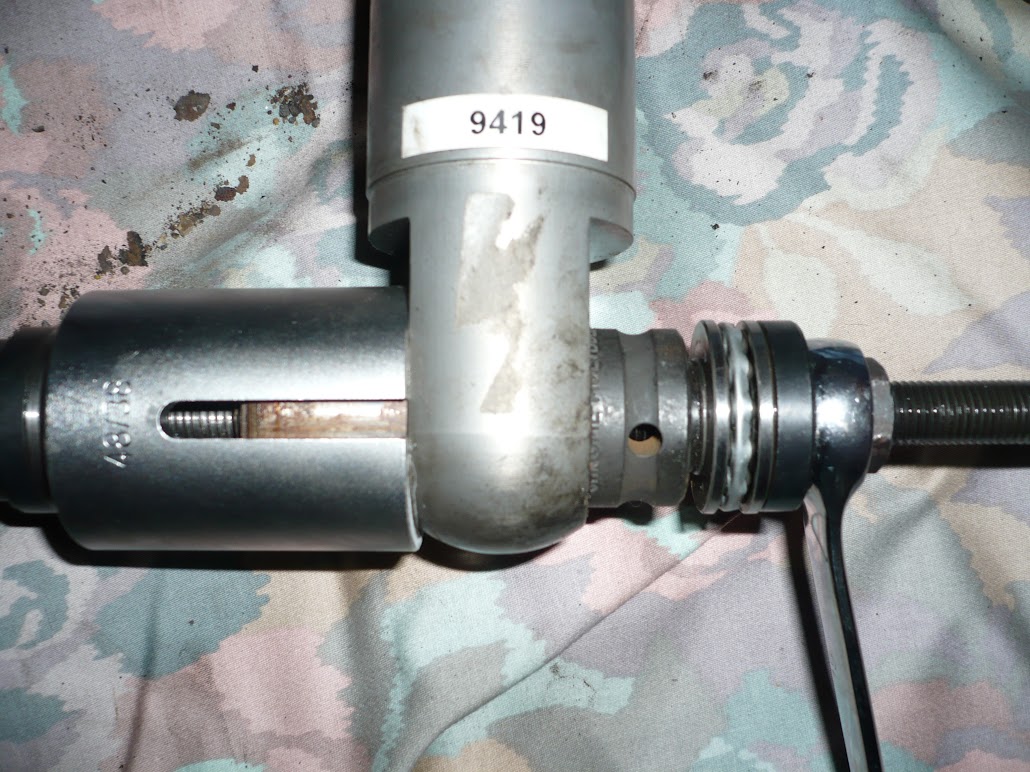
First, I removed the bush using a "press and pull" kit, which is a series of sleeves with various internal and external diameters, plus some hardened steel rods with thrust bearings on them that sit inside a recess to keep everything central. Then it's a case of winding the the bearings down the rod so that they squeeze the bush out of its slot. One sleeve must be sized just less than the internal diameter of the bush housing, and the other must be sized so it is slightly larger than the outer diameter of the bush.
In the image below I used an air tool to help as they were in tight. I would later use a proper press as some of the other bushes in the wishbones were in exceedingly tight. There is an article on this coming up shortly.

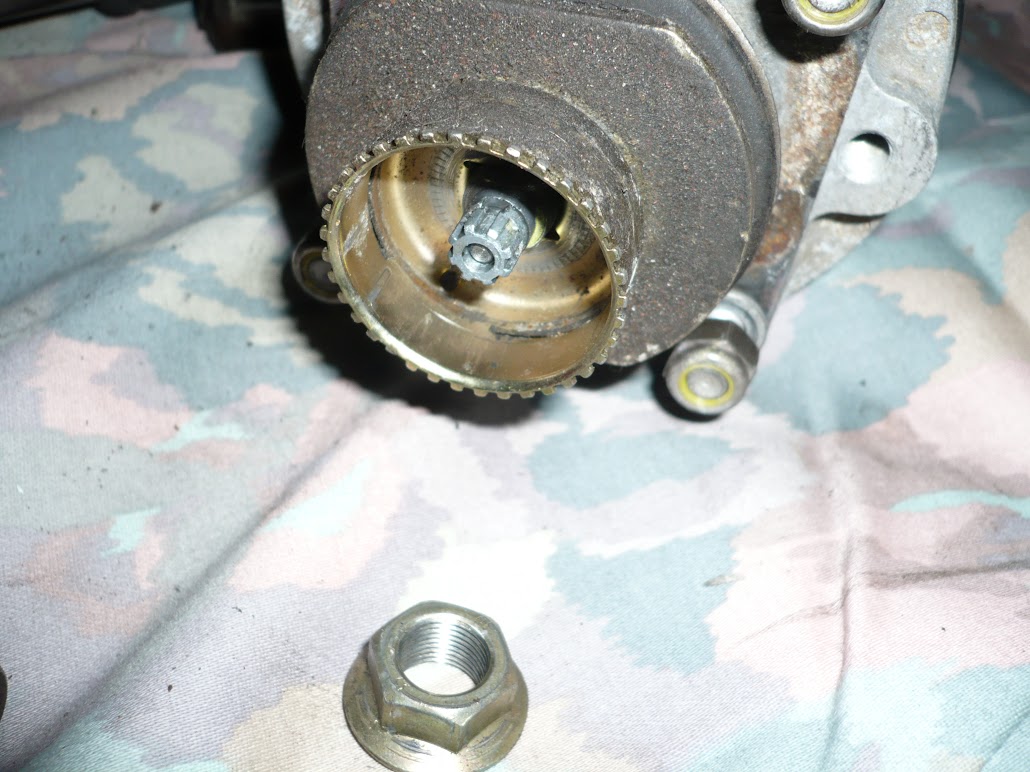
In the image below, the bush is almost out. I seem to remember this one came out fairly easily although it was indeed quite tight. It's just that the air tool helped a lot.
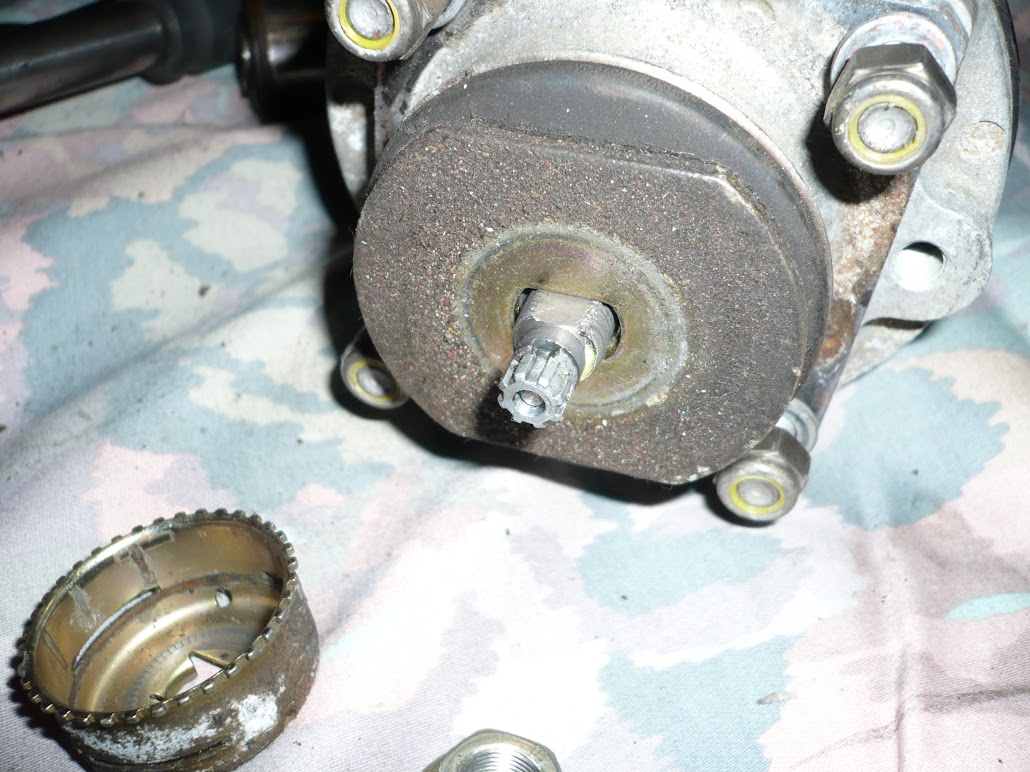
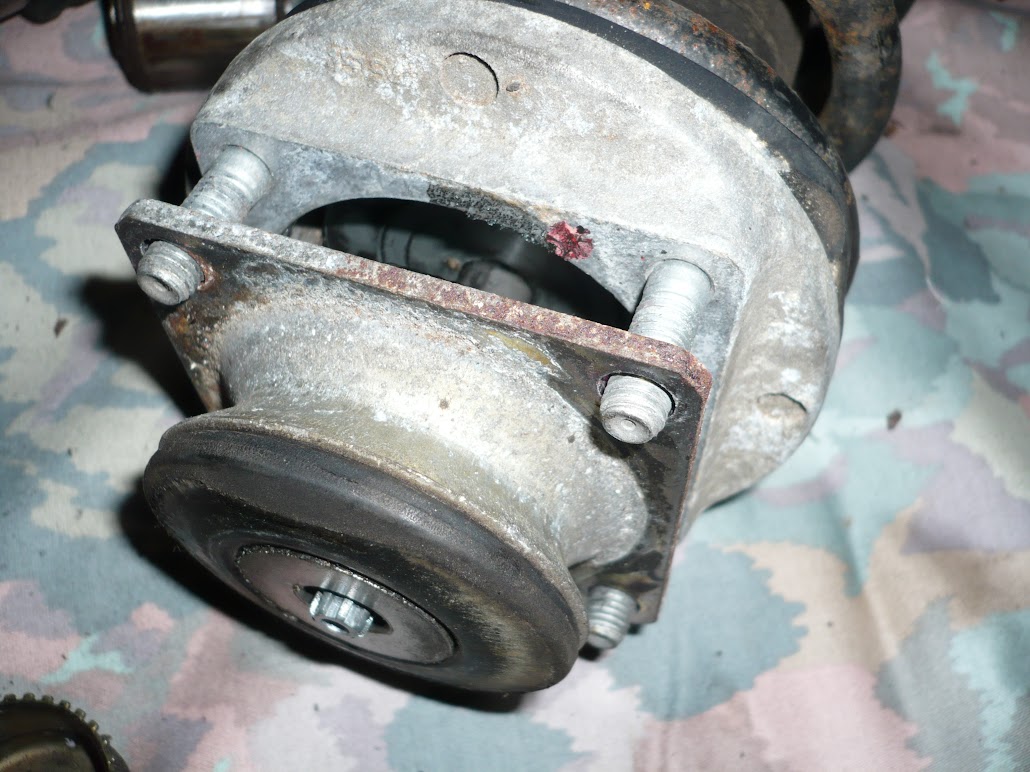
With the bush removed, we can start stripping down the damper. The first thing to do is to remove the nut holding the top hat on. It is under a small amount of tension from the spring but this can be relieved by lowering the spring platform adjusters at the bottom of the damper. Just note roughly where they were though as you'll want the ride height to be as close as possible to where you want it when they go back on the car. In my case I think I just put the air tool on it rather than messing around altering the spring perch:
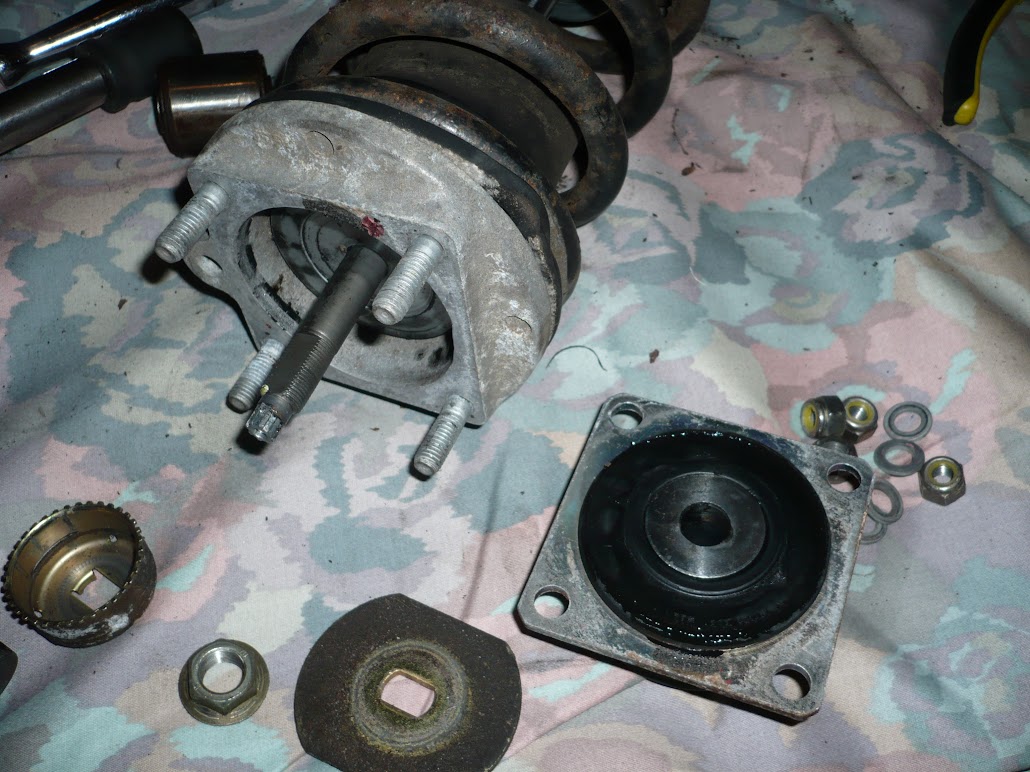
With the nut removed the top hat can be taken off. There are quite a few pieces to it, so the photo helped me remember the assembly order:
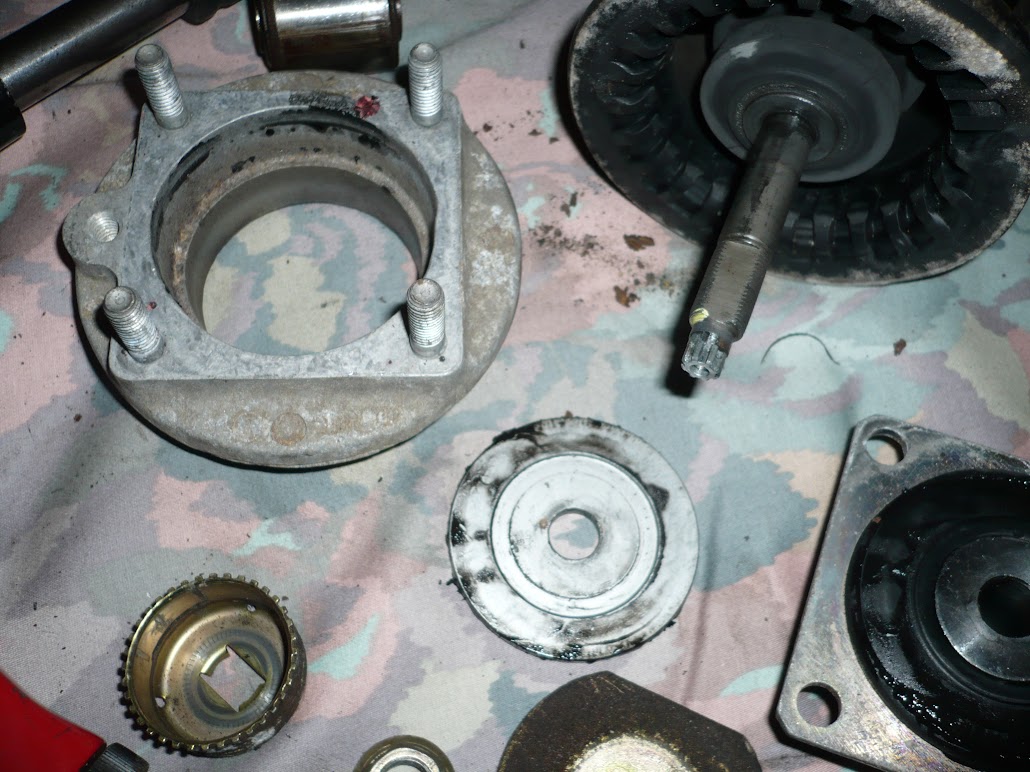
Once the top hat is off, then the rubber section that the spring sits on can be removed, and the bump stop that sits on the damper shaft:

Next the spring can be removed:
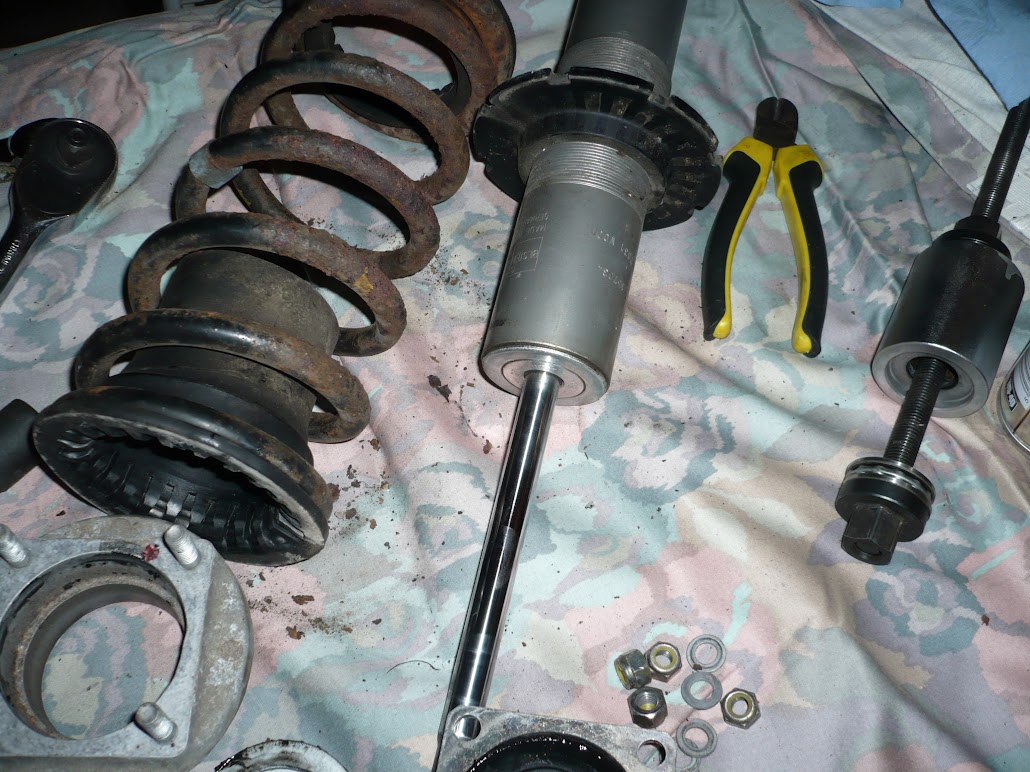
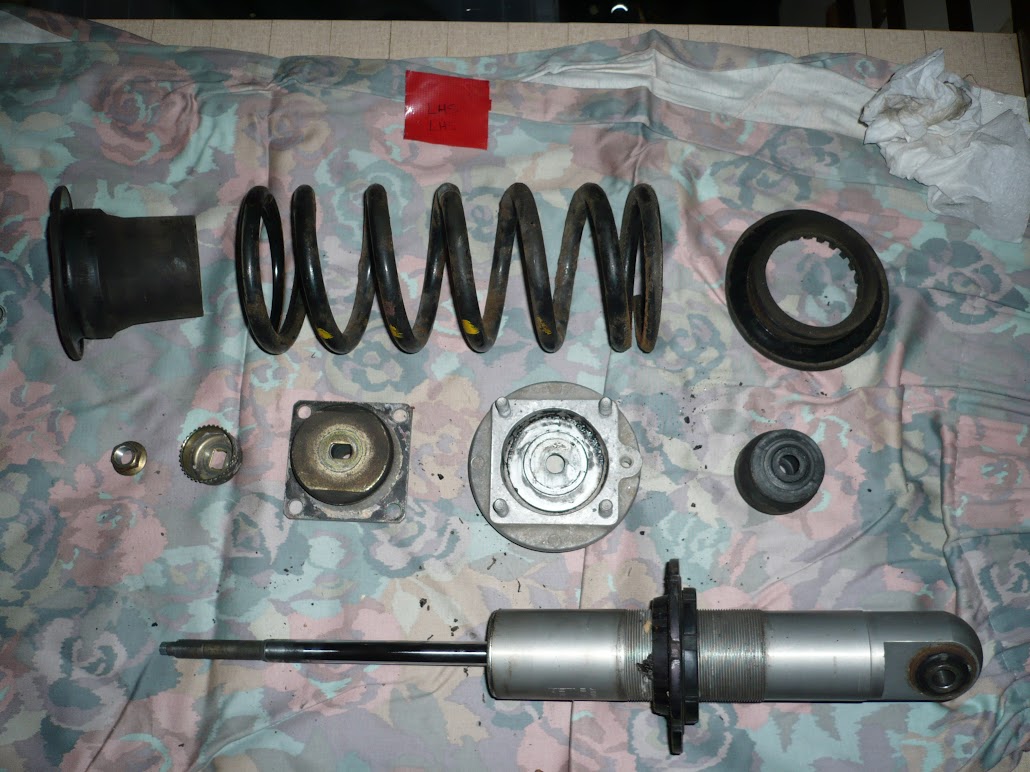
Finally, here are all the bits. I left the adjuster on the damper and just moved it up and down a bit when I cleaned everything (see later). For now, everything was just bagged and labelled: