If you have a leaky rear damper then the only cure is to replace it. Here's a guide showing you how to do it.
There are various ways you can get hold of a replacement:
- Buy new from Ferrari
- Buy used from the second hand market
- Take yours off and send them back to Bilstein to be refurbished.
You'll probably find the last of these is the most cost effective but it will take the most time. See below for the procedure to follow to swap your rear dampers over.
Note that dampers should be replaced in pairs otherwise you'll destroy the handling.
Now, onto the how-to:
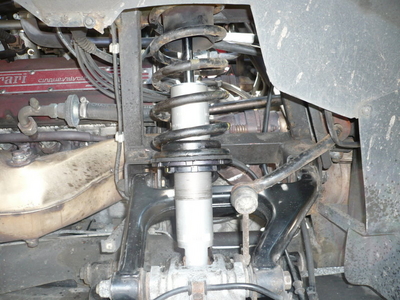
1. Jack up the car at the rear, put it on axle stands, and remove the rear wheels.
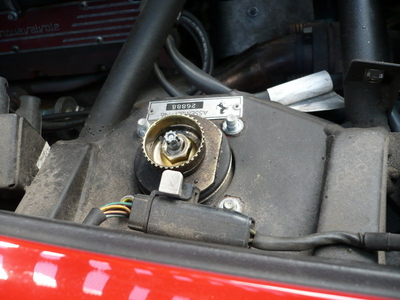
2. Remove the black panel inside the engine bay which covers the top of the shock absorber. There are three allen bolts to unfasten then it lifts away. Be careful when you remove it - there is a clip holding the cable for the red stepper motor which electroncally adjusts the damper. Carefully slide the cable out of the clip then you should be able to remove the panel and put it to one side.
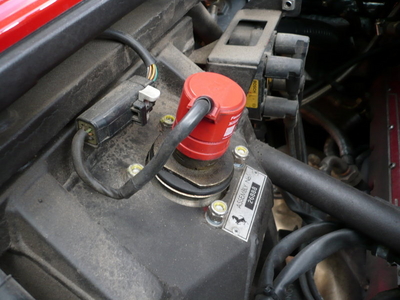
3. Remove the red stepper motor by first pulling the small clip from just below it, then the motor just pulls off vertically. Tuck it out of the way; there is no need to disconnect it.
4. Remove the wheel arch liner at the radiator side of the wheel arch. There are several self tapping screws around the edge and across the middle. You will need to undo one of the nuts holding on the diffuser underneath because the bolt it uses is attached to the liner you are removing.
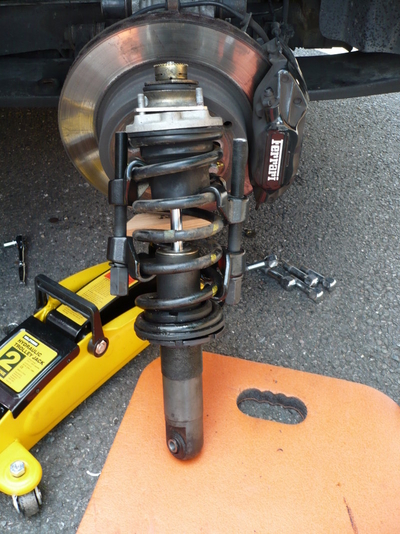
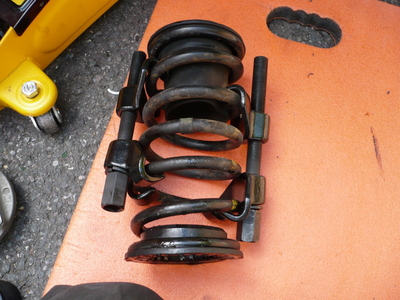
5. Grab your pair of spring compressors and tighten them around the damper until the spring is just loose. I had to modify the pair I bought because they were too long for the spring - I just chopped a sizeable lump off the bolt so they'd fit in. Once the springs are compressed, spray the damper body liberally with WD40 all over the threaded portion. Get plenty in and around the spring platform.

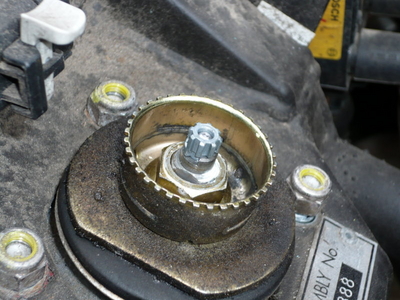
6. Undo the nuts holding the top of the damper in place but don't remove them entirely.
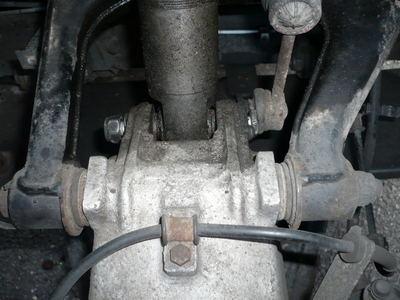
7. Undo the nut and bolt holding the bottom of the damper in the upright. It's a 19mm socket on each end. On my car they were very tight but my impact wrench did the job with ease. If you don't have air tools you're gonna start sweating at this point. Don't remove the bolt from the damper at this stage; just put the nut and washer to one side.
8. Slide a jack under the brake disk and give it some support. Use a piece of softwood or similar between the jack pad and the brake disk.
9. Undo the nut and bolt holding the hub in place through the end of the wishbone. Remove this entirely and let the jack support the weight.
10. You're now ready to remove the damper - remove the nuts from the top side, then let the jack down a little so the hub can tip forward towards you. Remove the damper bolt and make sure you have hold of it properly because it will fall downward. By tilting the hub toward you, you should be able to persuade the bottom of the damper past the top of the hub. Take note that there are two washers either side of the damper and these will probably fall on the floor when you take out the damper.
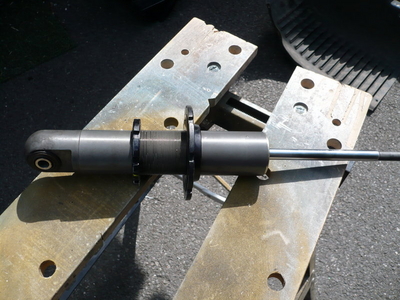
11. Once the damper assembly is removed from the car you can remove the top hat, bump stop, and finally the spring. To remove these just undo the nut in the top of the damper and slide everything off. You'll be left with the damper body with the spring platform still attached. Take note of where the spring platform is located on the damper body.
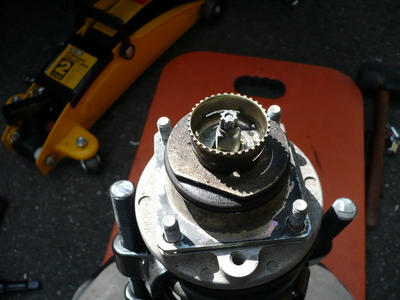
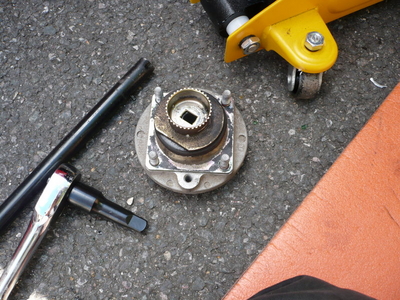
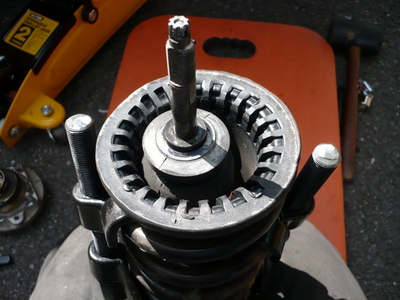
12. Getting the spring platform off the damper might be easy or hard. They have a habit of welding themselves to the damper body and this is why you hit it with WD40 earlier. The spring platform consists of two aluminium rings which are locked against each other. To separate them you need to rotate them away from each other on the damper. This is best done with a pair of C spanners. I had to modify one of the pair I bought because the radius was too small but once done it did the trick. Somewhat annoyingly I was able to get the first pair undone without the proper C spanners but ended up having to go out and buy a pair anyway because the second damper was a lot worse. This is probably because the first damper body was nicely lubricated due to the fact that it was leaking! Once you've separated the two rings from each other they both unscrew off the bottom of the damper.
13. You can now begin reassembly. Put the spring platform onto the damper - large ring on top, smaller locking ring underneath. Put them in the position you took note of earlier.
14. Slide the still compressed spring onto the body, insert the bump stop, and reassemble the hat onto the top of the damper. Then just put everything back in reverse. Don't forget to put the washers onto the bolt when you re-attach the damper to the upright, and use the jack under the brake disk to help get everything lined up, and make sure that you leave the spring in a position where you can still get to the spring compressors to unfasten and remove them.