
-
Home

- Engine Out Refurbishment Project
I didn't take photos of refilling the fluids as there isn't much to see. Having reconnected the ECU and double checked everything, I was left with needing to turn the key. I decided to hook up a cranking button so that I could crank the engine over for oil pressure without putting fuel in. I already had a suitable switch (one from a winch) so just dug out a couple of crocodile clips I had lying around to make it.
As there is a lot of oil capacity in the 355 it takes a good amount of cranking to get oil pressure. The gauge I had fitted in the engine bay was really helpful here because I could start the cranking from the engine side and watch the mechanical oil pressure reading in order to verify I had good pressure before starting.
Once I had good pressure, I used the key and it fired straight up!
There was one important thing to do straight away and that was to let the engine run to cure the paint on the exhaust manifolds. When I first started it up they burned like crazy (lots of smoke coming off them). This was just the paint curing. If I recall correctly the first run is about 10 minutes, then a 30 minute cooldown, then a second longer run and another 30 minute cooldown. For the second run there was no smoke, so clearly the paint had cured and it's been good since.
With that done, I bled the brakes. I couldn't really get a firm pedal and after a bit of searching I found that the master cylinder itself has bleed nipples on it;
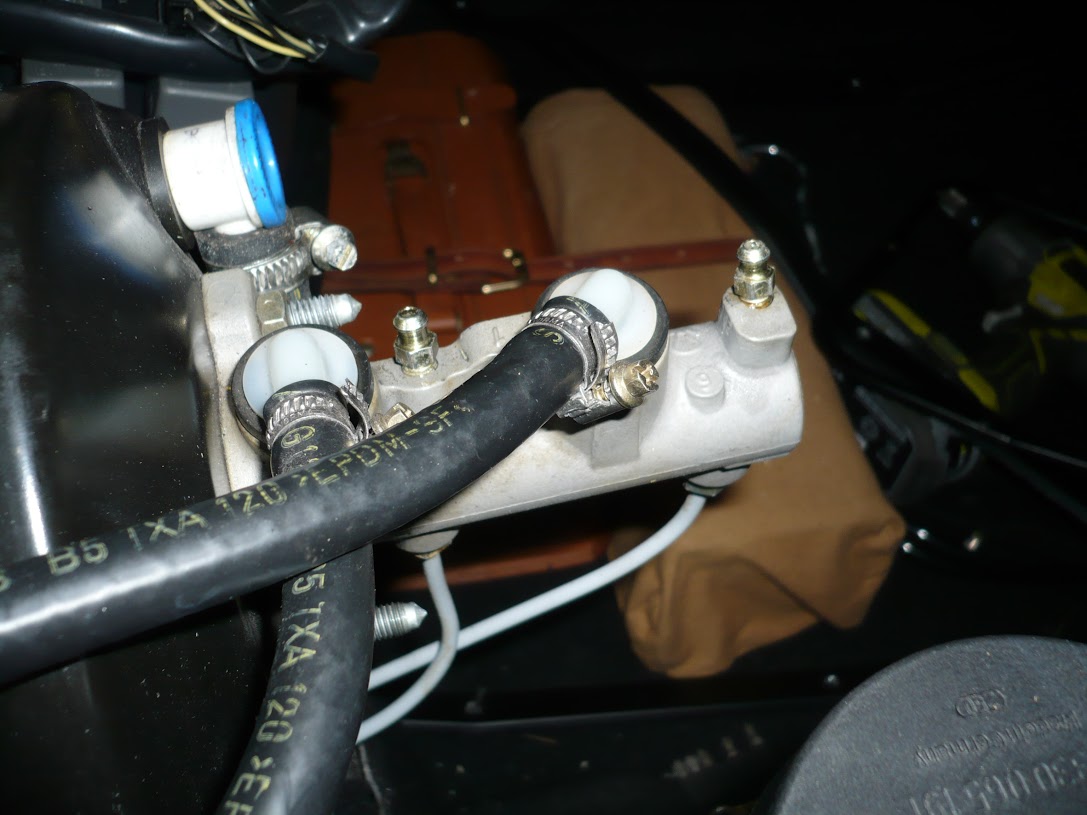
Once I'd bled here I got a solid pedal.
I also bled the clutch but again I didn't take photos of this. I have a few different bleeding solutions - a pressure bleeder, a vacuum bleeder which I bought as I thought it would be better, and an old fashioned one man bleeder that just has a one-way valve in it. I used all three but the pressure bleeder was still the one that worked best. It needs an air supply (car tyre) to work, which is why I wanted to use the vacuum pump version as its self contained, but the pressure bleed just always seems to work better. I think its because you get a good seal on the reservoir whereas a vacuum based one relies on a good seal at the bleed nipple which is harder to achieve.
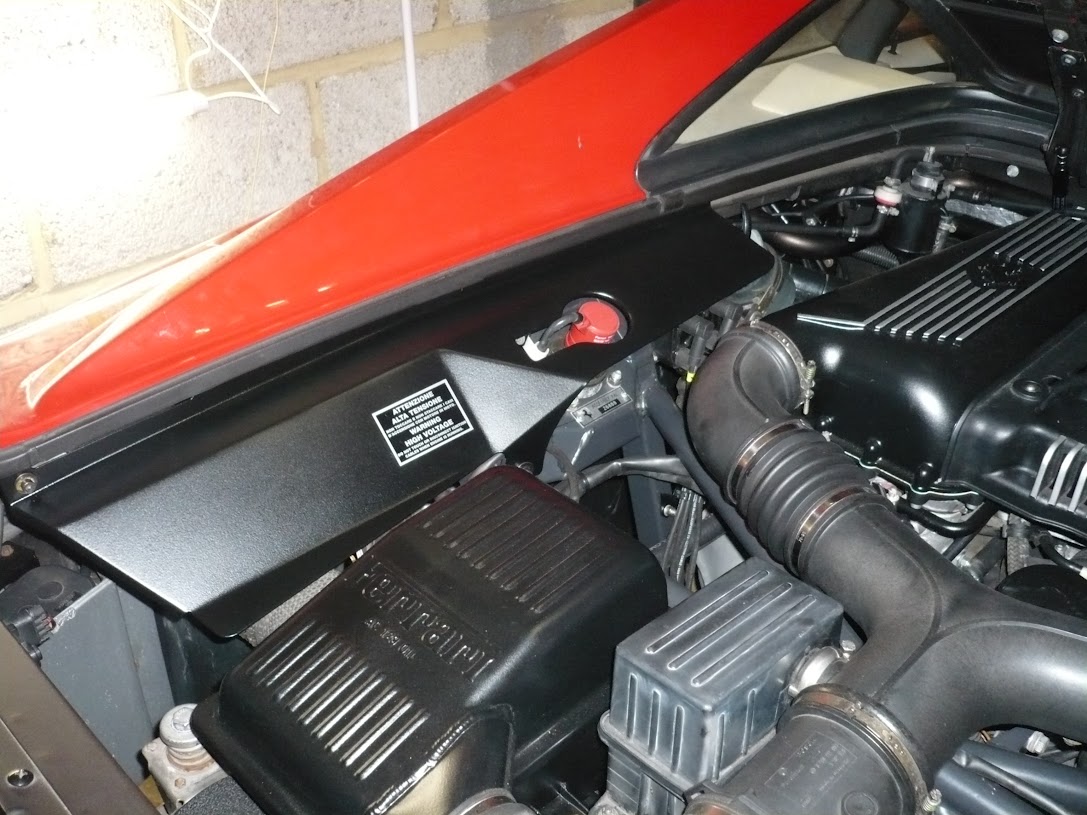
Final things to install were the air boxes and the side panels;
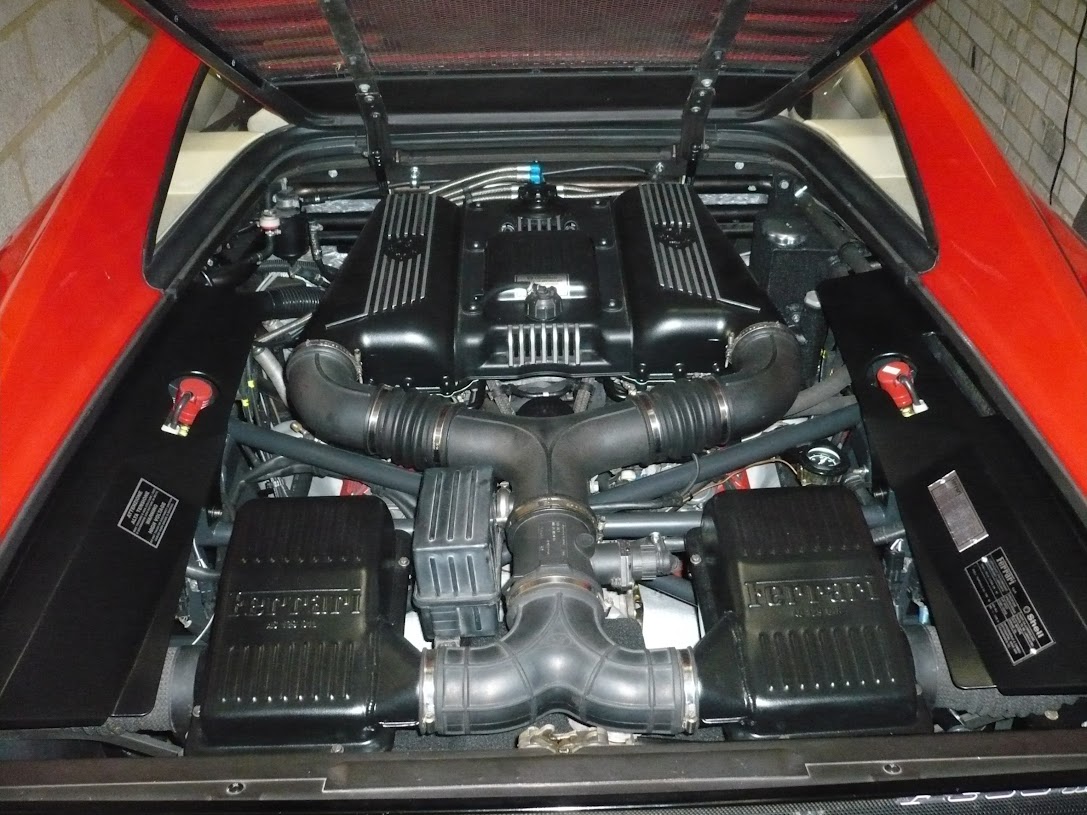
New sticker installed on the left side panel. However, when it got hot it curled up. I think I need to buy a new one and get the panel hot first, then stick it down.
Its not in the photos as I didn't have it at the time, but I replaced the resonator box, which is to the right of the air box in the picture above, with a new one because the old one had gone all white. A new one was just around £20 from Ferrari so it was a bit of a no-brainer really for something so visible. It's just an empty plastic box.
Wheels cleaned and back on, wheel arch liners washed and refitted, and out into the sunshine!
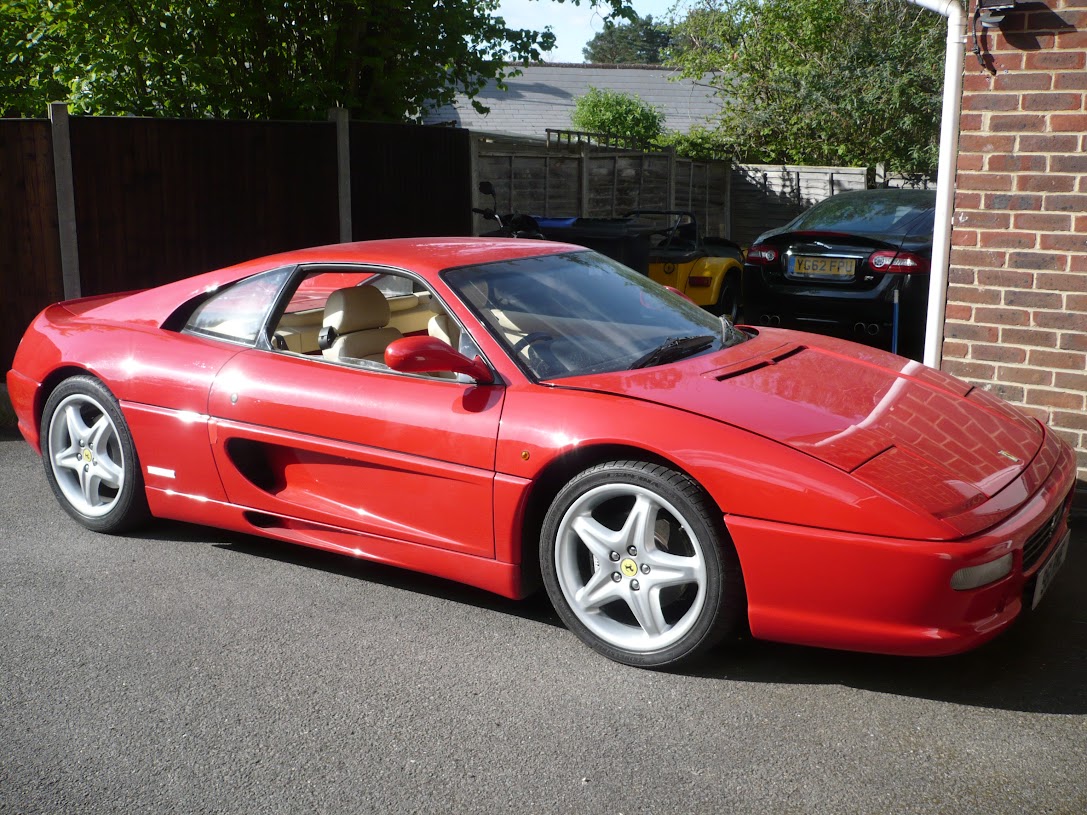
Job Done!
Page 89 of 90