
Just after I bought the sand blaster, very early on in the project, I blasted the aluminium damper hats to see what sort of finish I could get. This is how they came out. Hopefully in the image below you can tell which is before and which is after !
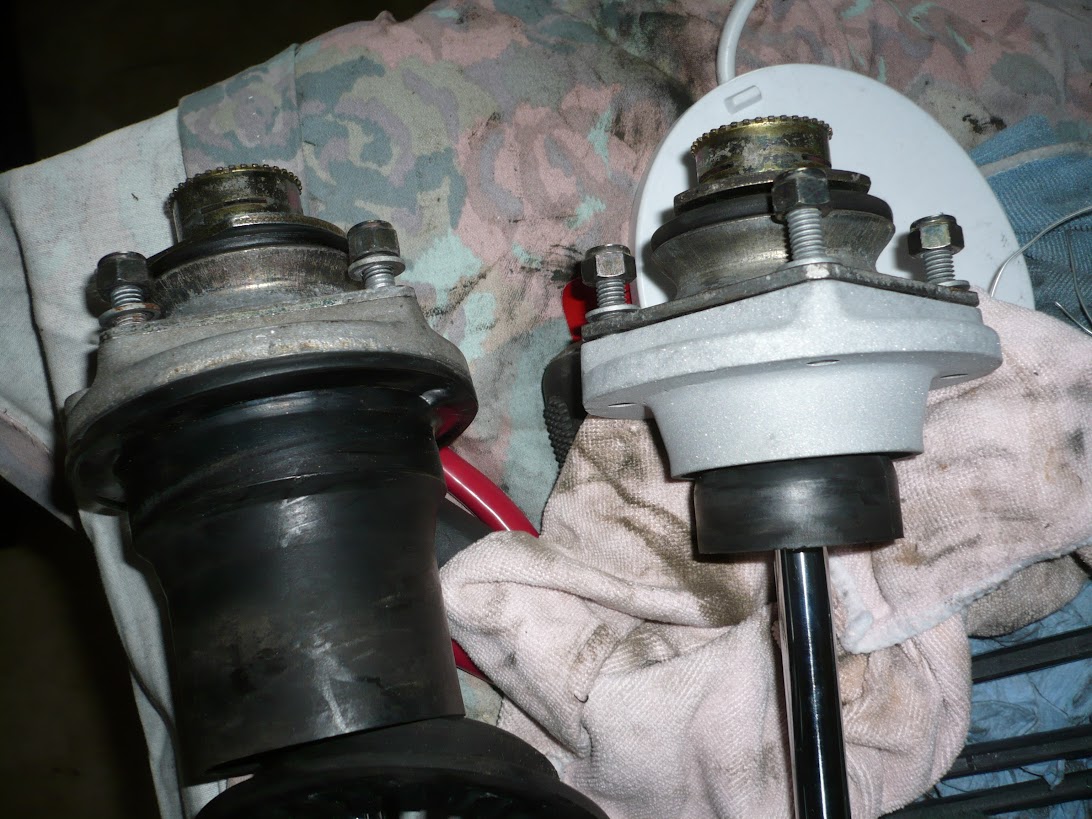
I was using grit rather than beads, so couldn't quite get that peened finish you get from plastic beads, but it came out very good nonetheless. Here's another angle:

Having received the full set of bushes I ordered from Superformance (there's an article showing them all earlier on), I was able to mount them in the dampers. The stages in this article were actually done over a reasonably long time because I had the bushes long before the springs were powder coated for example, but I thought I'd put the rebuild all in one place. Chronologically it was only 'now' in the context of these articles that I had the bits ready to finish rebuilding them.
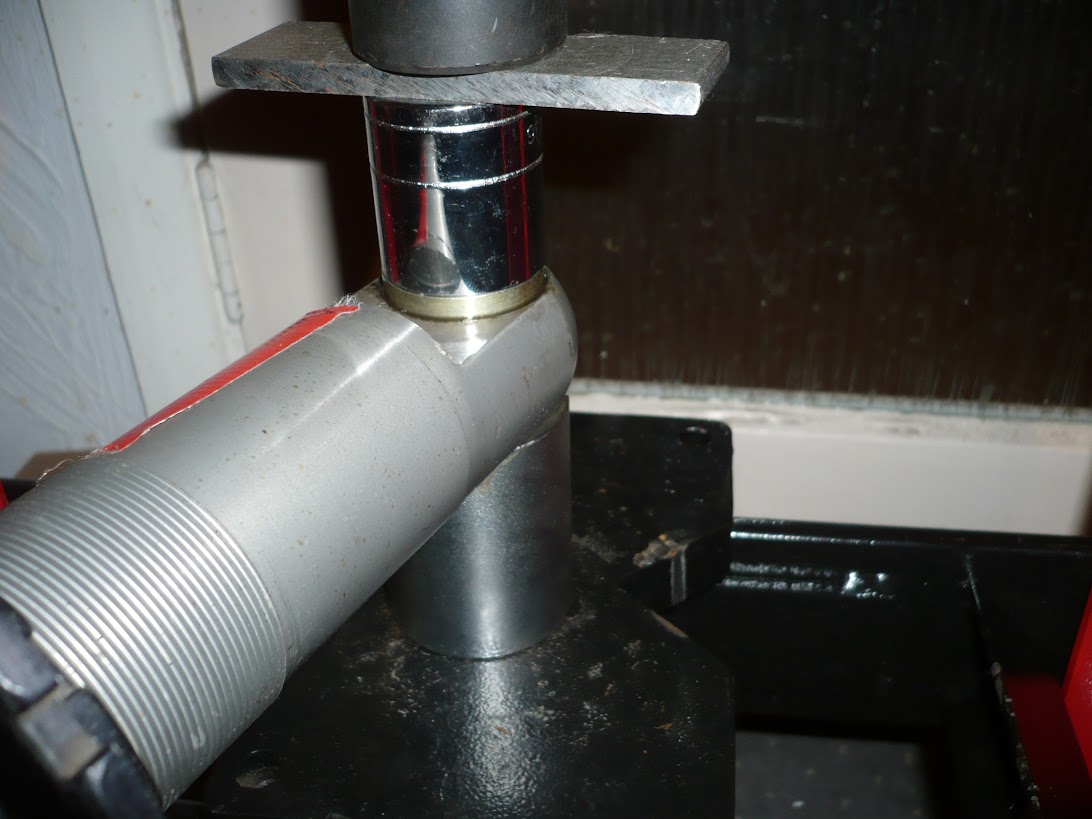
I used the press to insert the bushes into the bottom of the dampers. They go in from either side as there is no flange on the damper, but given that's the case you have to be careful not to push them too far through. You can see above I've used a socket that is slightly larger than the bush so I don't go too far.
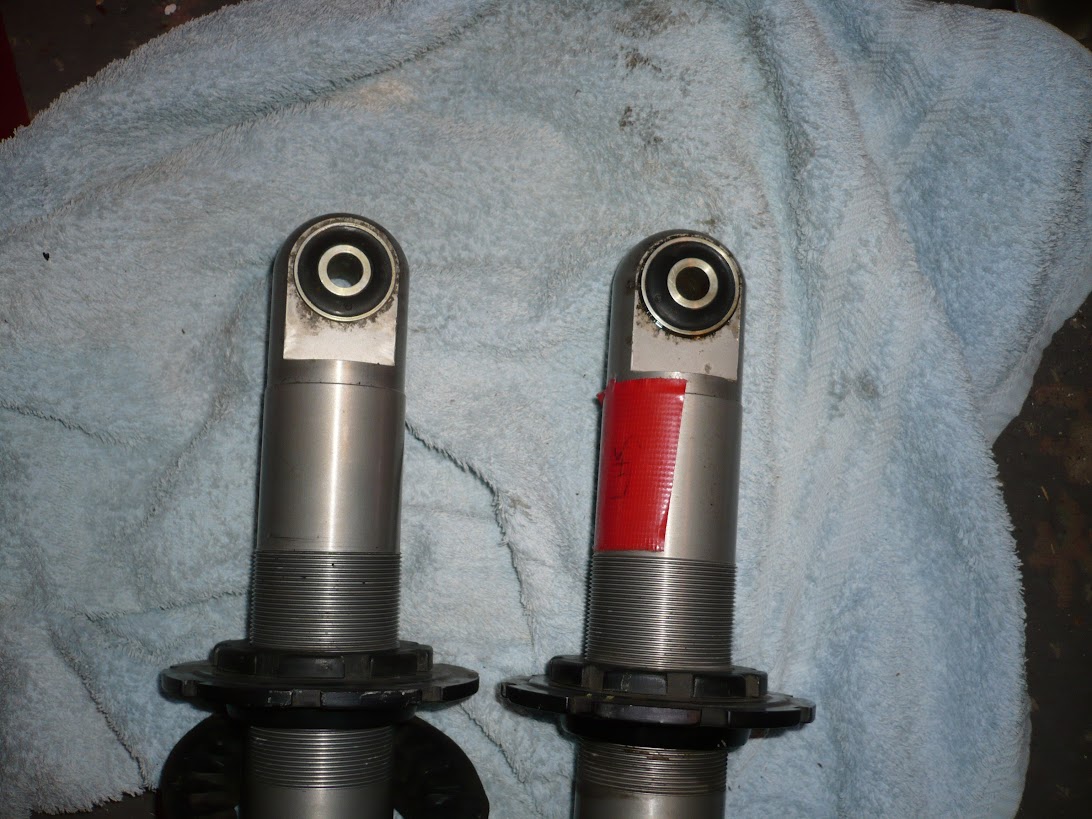
Bushes installed:
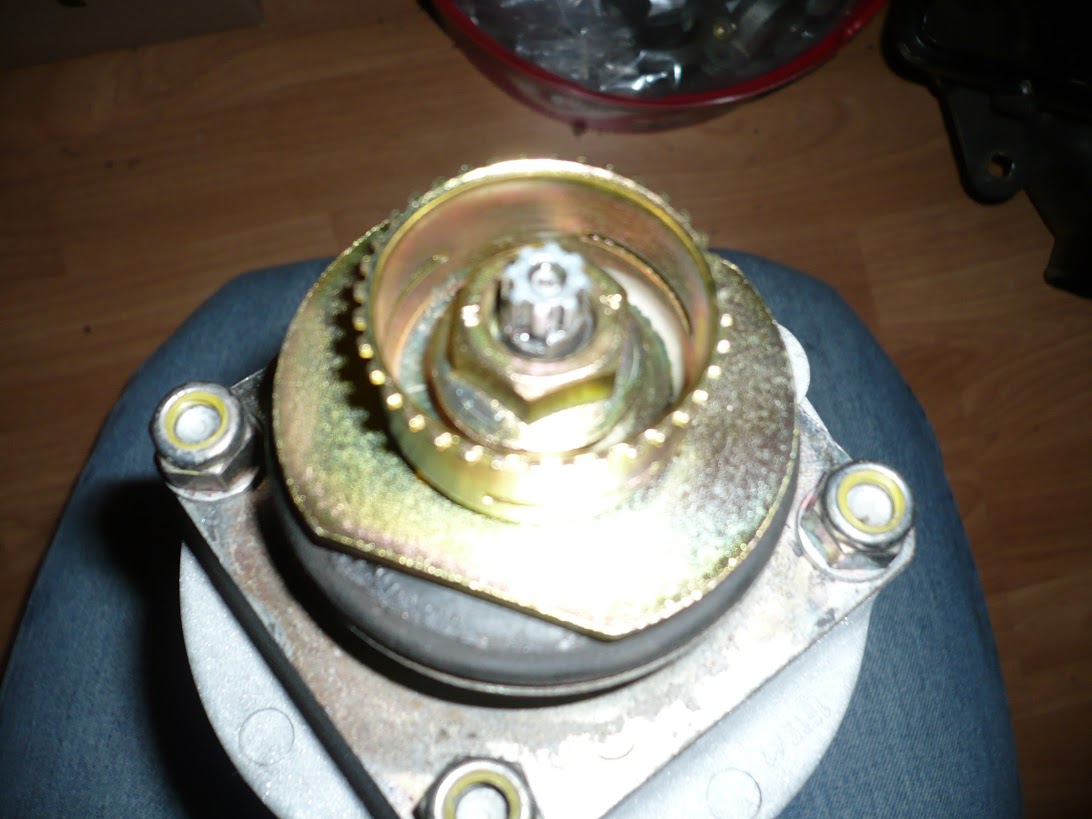
Once the plated components were back I could try fitting everything back on the dampers. I was still waiting for the springs at this point:
I couldn't really do anything with the poor surface of the rubber mount steel flange - couldn't have it re-plated for example because that would destroy the rubber part, so I had to just clean it as best I could. I wasn't prepared to buy new parts here since there was nothing wrong with the existing ones (and they're hidden under the engine subframe anyway when installed back on the car)
Ultimately the springs arrived back from the powder coaters and I could reassemble everything. The rubber spring supports were cleaned with soapy water, the spring platform heights were set to the approximate height, and then the springs installed over the damper body. Last thing to do is to re-attach the top hat components which is just a reversal of the previous disassembly.
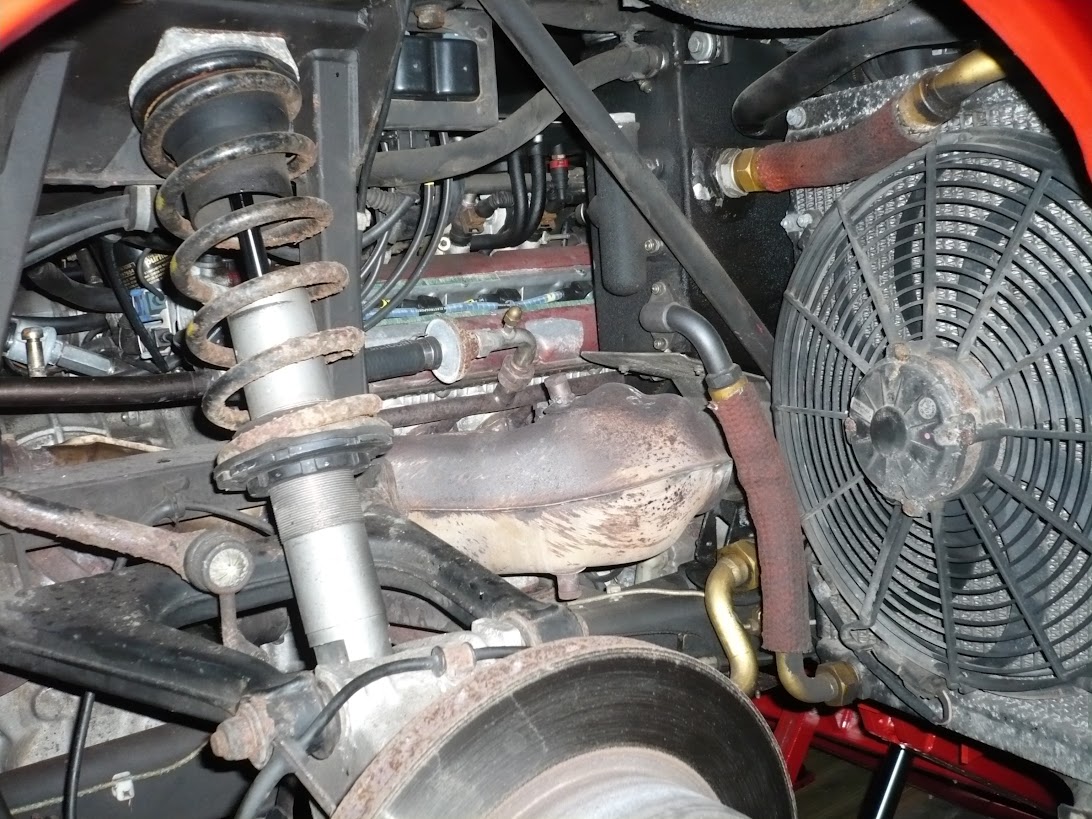
Reminder of what I started with:
And I ended up with this:

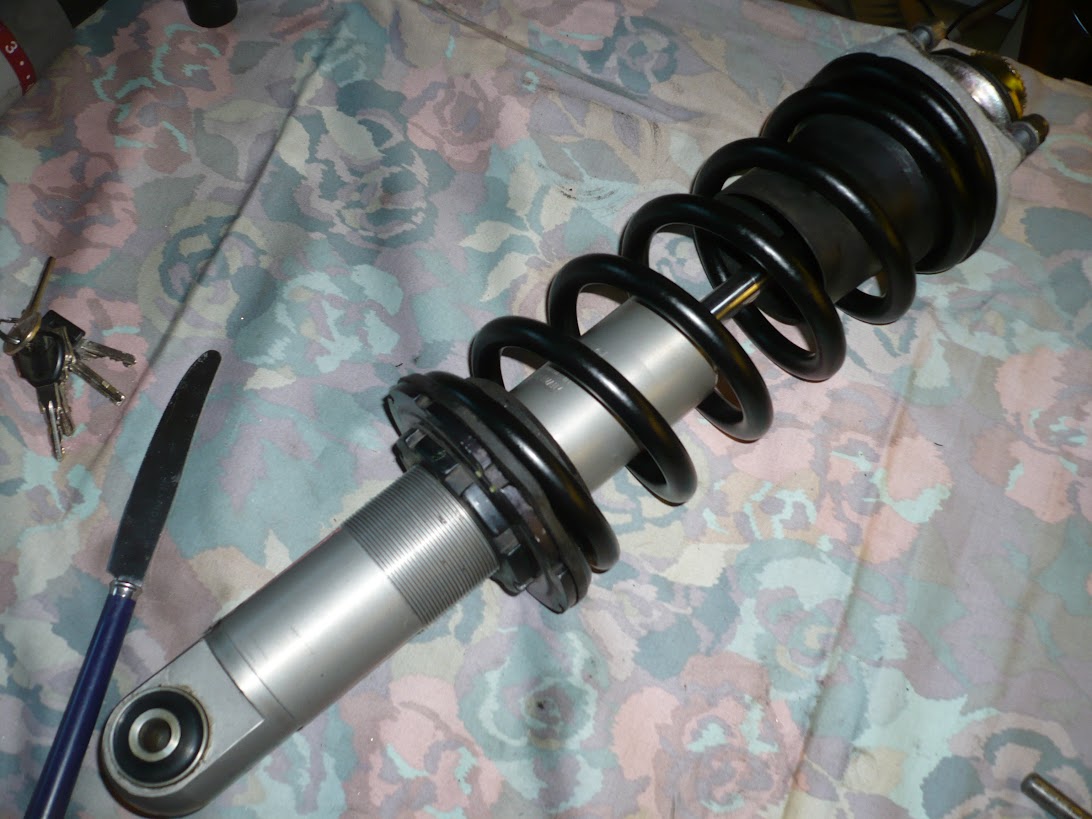
(I've no idea why there is a knife on the bench...)